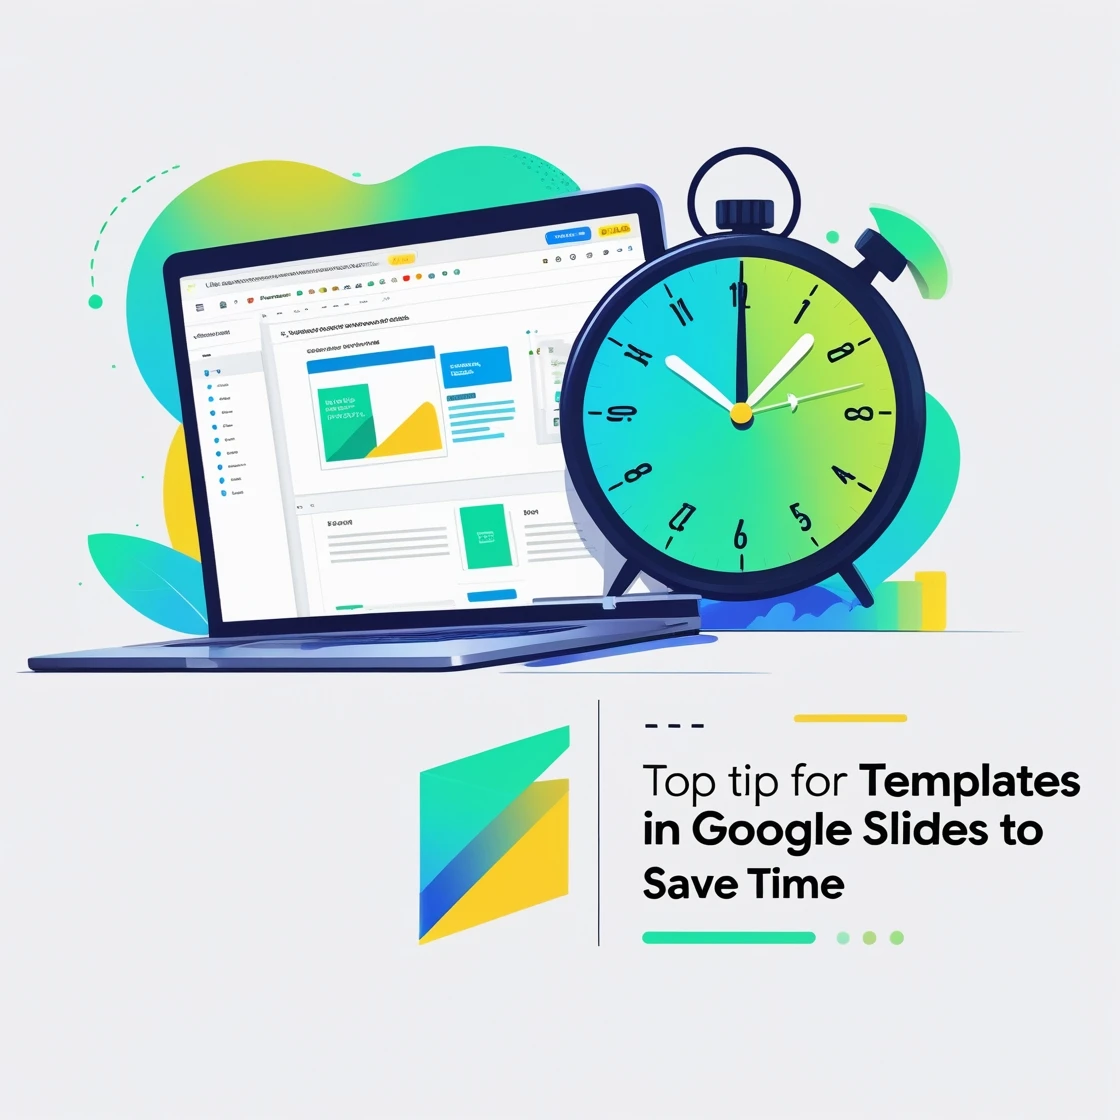
Top Tips for Using Templates in Google Slides to Save Time
Introduction
Ever wished you could create stunning presentations in half the time? Google Slides templates are your secret weapon, offering pre-designed layouts that streamline the process while delivering professional results. Whether you’re a teacher preparing lesson slides, a business professional crafting a pitch, or a non-profit volunteer designing an impact report, templates save time and boost creativity. This guide shares top tips for using templates in Google Slides, covering finding free templates, customizing designs, creating branded layouts, collaborating with teams, ensuring accessibility, and applying best practices. Let’s dive in and make your next presentation a breeze!
Why Use Templates in Google Slides?
Why start from scratch when templates can do the heavy lifting? Templates in Google Slides provide ready-made designs with placeholders for text, images, and charts, allowing you to focus on content rather than layout. They’re perfect for busy professionals or organizations with tight deadlines, offering consistency and polish without requiring design skills. For example, a non-profit can use a template to quickly create a donor pitch, while a teacher can adapt a lesson plan template in minutes.
Beyond efficiency, templates ensure visual coherence, making your slides look professional and cohesive. They’re also customizable, letting you tailor designs to your needs. With Google Slides’ cloud-based platform, templates are accessible anywhere, enabling seamless collaboration. Ready to save time and elevate your presentations? Let’s explore how to make the most of templates.
👉Google Slides for Non-Profits: Strategies Guide
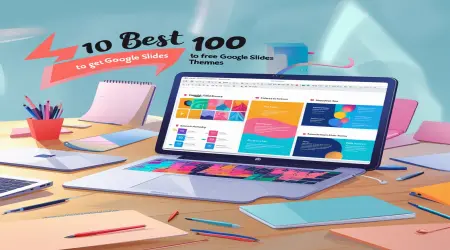
Finding and Using Free Google Slides Templates
Free templates are a game-changer for creating impactful slides on a budget. Here’s how to find and use them:
Finding Templates:
In Google Slides, go to File > New > From template to access Google’s template gallery, offering designs for business, education, and more.
Explore third-party sites like SlidesCarnival, SlidesMania, or Canva, which provide free, downloadable Google Slides templates.
Search for templates tailored to your purpose (e.g., “non-profit fundraising” or “classroom lesson”).
Using Templates:
Open a template in Google Slides by clicking Use template (Google gallery) or importing a downloaded file (File > Import slides).
Replace placeholder text with your content, such as titles, bullet points, or data.
Insert images (Insert > Image) or charts (Insert > Chart) to personalize the slide.
Organizing Templates:
Save favorite templates in a Google Drive folder for quick access.
Duplicate slides (Ctrl + D or Cmd + D) to reuse layouts within a presentation.
Example: A volunteer at a food bank finds a free fundraising template on SlidesCarnival. They import it into Google Slides, replace placeholder text with their mission statement, and add a photo of volunteers packing food. In 10 minutes, they have a polished slide deck ready for a donor meeting.
Free templates make professional presentations accessible, saving time and resources.
👉Can You Sell Google Slides on Facebook Marketplace? Guide
Customizing Templates for Professional Presentations
Customization turns generic templates into tailored masterpieces. Here’s how to make templates your own:
Editing Text and Colors:
Click text placeholders to update content, ensuring fonts are readable (e.g., 18pt or larger).
Change colors via Slide > Change theme or Format > Format options to match your brand or mood.
Modifying Layouts:
Go to View > Theme Builder to edit the master slide or layouts, adjusting backgrounds, placeholders, or fonts.
Rearrange elements (Arrange > Order) or resize images for balance.
Adding Multimedia:
Insert videos (Insert > Video) or audio (Insert > Audio) to enhance engagement.
Use animations (Insert > Animation, e.g., Fade in) for subtle emphasis on key points.
Example: A marketer customizes a business template by changing the background to their company’s blue, updating fonts to match branding, and adding a product demo video. They animate the product image to Fly in, creating a professional pitch in under 20 minutes.
Customization ensures templates reflect your unique style while maintaining efficiency.
👉How to See Your Word Count on Google Slides
Creating Branded Templates for Consistency
Branded templates ensure every presentation aligns with your organization’s identity. Here’s how to create them:
Designing in Theme Builder:
Go to View > Theme Builder to access the master slide and layouts.
Add your logo (Insert > Image) and set brand colors (Slide > Change background).
Choose consistent fonts (e.g., Arial for headings, Calibri for body text).
Setting Placeholders:
Add text boxes, image placeholders, or chart placeholders to layouts for easy content updates.
Lock elements (Arrange > Group) to prevent accidental changes.
Saving and Sharing:
Save the template in Google Drive or export as a .pptx file (File > Download).
Share with your team via Share, setting permissions as Editor or Viewer.
Example: A non-profit creates a branded template with their logo, green color scheme, and placeholders for impact data. Volunteers use it for all presentations, ensuring every slide deck looks cohesive and professional, saving hours of design time.
Branded templates streamline workflows and reinforce your organization’s identity.
👉Mastering Google Workspace: How to Integrate Google Slides with Other Google Apps
Collaborating on Templates with Your Team
Collaboration ensures templates meet team needs and reflect collective input. Here’s how to work together:
Real-Time Editing:
Share the template via Share, granting Editor access to team members.
Edit simultaneously, with cursors showing who’s working where.
Using Comments:
Add comments (Insert > Comment or Ctrl + Alt + M) to suggest changes, like “Try a bolder font here.”
Assign tasks with @mentions (e.g., “@jane, add our logo”).
Suggesting Mode:
Switch to View > Mode > Suggesting to propose edits without altering the original.
Review suggestions in the comment sidebar, accepting or rejecting as needed.
Example: A school’s faculty collaborates on a lesson plan template. The principal adds comments suggesting a slide for homework, while a teacher proposes a new layout in Suggesting mode. The final template is polished and ready for classroom use in a day.
Collaboration makes templates versatile and team-approved, saving time on revisions.
Ensuring Accessibility in Google Slides Templates
Accessible templates ensure all audiences can engage with your content. Here’s how to make them inclusive:
Adding Alt Text:
Right-click images or shapes, select Alt text, and describe content (e.g., “Chart of student enrollment”).
Use clear descriptions for screen readers.
High-Contrast Design:
Use Slide > Change theme to select high-contrast themes (e.g., dark background, white text).
Ensure text is at least 18pt for readability.
Logical Structure:
Use layout placeholders (Slide > Apply layout) for consistent navigation.
Check with Tools > Accessibility for screen reader compatibility.
Example: A non-profit designs a template with alt text for photos (e.g., “Volunteers planting trees”), a high-contrast theme, and clear headings. This ensures donors with visual impairments can access the presentation, aligning with the organization’s inclusive values.
Accessibility makes your templates welcoming to all, enhancing impact.
👉How to Effectively Use Comments and Feedback Features in Google Slides
Best Practices for Using Templates to Save Time
To maximize efficiency, follow these best practices:
Choose Purpose-Specific Templates: Select designs tailored to your goal (e.g., fundraising, training) to minimize customization.
Reuse and Duplicate: Save templates in Google Drive and duplicate slides (Ctrl + D) for quick updates.
Keep It Simple: Avoid overloading templates with animations or complex layouts; prioritize clarity.
Test Before Presenting: Rehearse in Slideshow mode to ensure fonts, images, and multimedia display correctly.
Update Regularly: Refresh branded templates annually to reflect new branding or needs.
Share Wisely: Set clear permissions (Share > Viewer or Editor) to protect template integrity.
Leverage Placeholders: Use text and image placeholders to swap content quickly without redesigning.
Example: A teacher uses a lesson plan template with placeholders for objectives and activities. They duplicate slides for each class, update content in minutes, and test the deck, delivering engaging lessons efficiently.
These practices ensure templates save time while delivering professional results.
Conclusion
Google Slides templates are a powerful tool for creating polished presentations quickly. By finding free templates, customizing designs, creating branded layouts, collaborating with teams, ensuring accessibility, and following best practices, you’ll streamline your workflow and impress your audience. Whether you’re pitching, teaching, or reporting, these tips will help you save time and shine. Start using templates today, and watch your presentations transform with ease and impact.
Pro Tip: Explore sites like SlidesMania for fresh template inspiration to keep your presentations vibrant and modern.